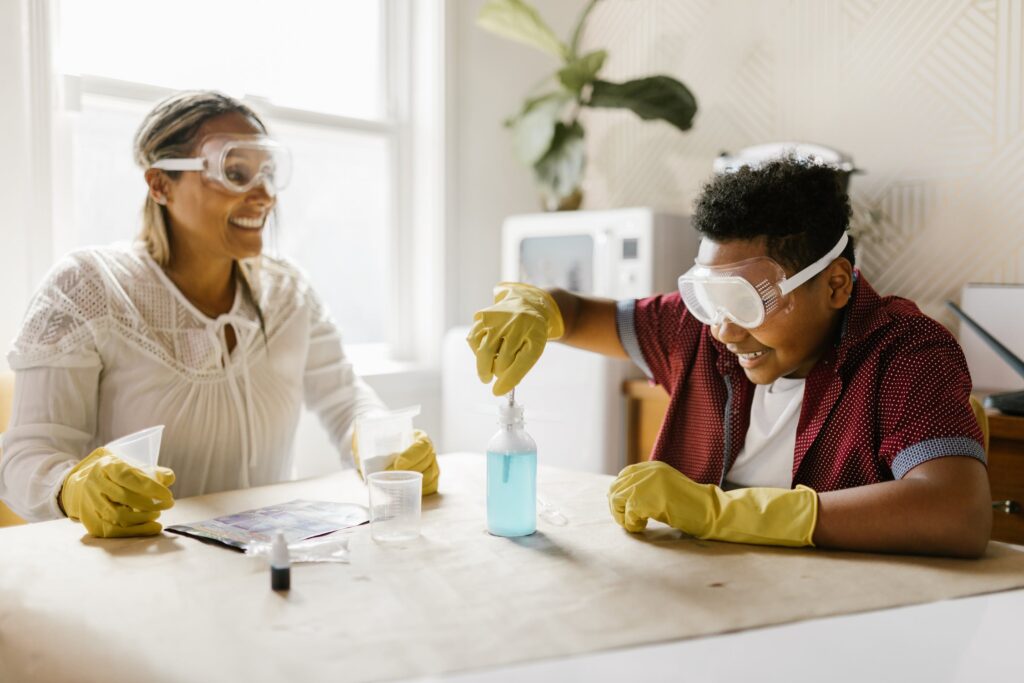
Do you ever try out science experiments at home? Imagine the look on your child’s face when they see a chemical reaction take place before their very eyes.
Not only will you ignite their scientific curiosity, but you can also give them a sense of control by engaging with the fascinating concoctions as a result of these activities.
This is a collaborative post
Every one of these science experiments is simple to complete and brimming with conclusions that will bring astonishment and delight to your child at home.
1.Glitter Germs
Things you’ll need:
- Glitter
- Glass or Tupperware (or any container to hold things)
- Hand soap
- Some baby oil
- A second person, like a parent or older sibling
How to do it:
- Let one participant (you or your partner) rub their hands with baby oil.
- Let the other person apply glitter on their hands. These will act as your germs.
- Shake your hands with each other.
- Attempt to soak your hands clean without hand soap. See what sticks after 10 seconds.
- Then, attempt to wash your hands with hand soap. Look back at your hands after 20 seconds. Did the ‘germs’ stay in place, or have they been washed away thoroughly?
The process:
This simple experiment is a great way to teach your kids to wash regularly. It introduces germs and how we can prevent infections, as well as the use of soap and water in cleansing hands.
For toddlers and kindergartners, it can be hard to wrap their heads around abstract concepts. This experiment gives them an idea of how much they should scrub their hands, which includes their nails, in between fingers, and wrists, to fully remove germs.
It’s critical to break down these ideas into simple concepts that children can comprehend and evaluate in real life, so they’ll be able to make sound judgments on their own.
2. Glitter Volcano
Things you’ll need:
- White vinegar
- Glitter
- Large container like a pan
- Glass vase
- Baking soda
- Food coloring
How to do it:
- Gently put the vase in the container. Add baking soda (about 2 to 3 tablespoons) into that vase.
- Color your eruption! Fill in 6 to 7 drops of food coloring to the vase.
- Add 1 to 2 teaspoons of glitter.
- Then, pour 1/2 cup of vinegar with haste and take a look at your creation. Spill more vinegar as needed.
- *Optional. If you’re fascinated by the explosion, try putting various other materials into the volcano to see what happens. Put in pepper, dry noodles, dish soap, and all the other things you can think of to see what changes.
The process:
This is one of those simple science experiments that shows your kids how science can be creative, vibrant, and fun. It’s also a great way to bring out the scientist in them without putting too much pressure on their shoulders.
Instead of building a base from scratch as with other science volcano builds, this experiment allows you and your child to create interesting patterns quickly and easily.
In addition to being pleasant on the eyes, this experiment also teaches children to exercise their creative minds. A great example of this is shown by Raising Stars – they use experiments like this to develop the ability of children to investigate, present findings, and alter the world around them to aid them to navigate the real world through inquiry-based learning.
This experiment facilitates their ability to think critically for themselves – which is a crucial milestone at an early age.
3. Tornado Tube
Things you’ll need:
- Plastic bottle without the label
- A container like a pan
- Water
- Gravity
How to do it:
- Remove the bottle cap and label of the plastic bottle.
- Fill the bottle with water.
- Turn over the bottle to the pan or container (or do it in the backyard) and watch how quickly it empties. Repeat 2-3 more times to gather data on the average time it takes for water to completely escape the bottle.
- To create the vortex, refill the bottle.
- Spill it in a clockwise or counterclockwise motion as water pours out.
- Maintain the motion and notice the shape of the water still inside the tube. It swirls and looks just like a vortex!
- Repeat a few more times and see which one is quicker, the static method or the vortex method.
The process:
This is one of a few science experiments that allows kids to learn firsthand how fluid mechanics work. It gives them a newfound fascination with the concept of water and gravity.
With this experiment, you’ll help your child improve their cognitive ability to investigate, collect data, and gather the results to come up with a data-driven conclusion. This aids them in their ability to interpret situations in a scientific model, putting them in a position that’s engaging rather than removed from the learning experience.
4. Milk to Plastic Experiment
Things you’ll need:
- 1 cup of milk
- Items made of plastic (for demonstration purposes)
- Microwaveable container
- Thermos or insulated container
- 4 teaspoons of white vinegar
- Paper towels
- Heat-resistant mug or cup
- Optional: Food coloring, glitter, markers
How to do it:
- Look, feel, and touch the items made of plastic. What properties do they have? Can its synthetic properties be recreated with natural ingredients at home?
- Add 4 teaspoons of vinegar to the cup.
- For parents: Steam 1 cup of milk on the microwave or stove and put it in the thermos afterward.
- Give the thermos to your child and pour the hot milk into the cup that has vinegar on it. You should see clumps or curds.
- Mix for several seconds with a spoon.
- Scoop up the curds once it’s cooled down, and drain out the excess liquid in the mug. Collect the curds and put them on paper towels.
- Fold the paper towels and squeeze them to absorb the liquid in the curds. Add more paper towels to absorb the remaining liquid if necessary.
- Knead the curds together – its properties will now resemble that of plastic!
- Decorate the “plastic” in any way you want – mold them, add food coloring, or sculpt them to your heart’s content.
- Optional* After 48 hours have passed, you can draw the dried plastic with markers or paint on them.
The process:
This is one of those science experiments that exercises a child’s creativity and imagination, making them feel as if they’re a scientist for a day.
It also stimulates their curiosity – which is a crucial motivator in the learning process. Kids who are curious about the world around them tend to pick up information with greater enthusiasm and retention.
In creating “plastic” from milk at home, they’ll feel more in control of their ability to shape their environment, which leads to greater confidence. They’ll also learn and gain an understanding of the composition of the differences of everyday items, which can help them be more considerate of how they affect the environment.
How did I do?
Did you enjoy this post? Why not hang around and read a few more whilst you’re here. If you want to read some more of my usual kind of stuff, head over to my Mum Life section. You’ll find all things parenting with a tongue-in-cheek twist. Or if you want some days out and UK family holiday inspiration, click on the Travel section.
If you like a bit of social media madness, pop over to my Facebook page. You’ll be able to have a laugh at what ridiculousness goes on in my house with three very small boys on a daily basis. Warning – there is often sarcasm, and usually swearing. There are also great travel reviews and some AWESOME giveaways. Feel free to join my Twins, Tantrums and Cold Coffee – Shits and Giggles Parenting Group too, where everyone shares their hilarious stories.
If you like what you see, how about you check me out on Pinterest, Instagram and Twitter too.
And if you want to work with me, feel free to give me a shout here or at helen@twinstantrumsandcoldcoffee.com and I’ll get back to you.